Thursday, May 27, 2010

Peanut butter and...


I'm in love with this logo because it's totally different from everything that I've done.  And I'm in love with the work that Jodie does.  She creates high-end paper collage art.  Take a look at her blog to see her work. 

I also designed Jodie's blog, etsy store and business cards.  It was just a really fun design to create...with all the layers and "scrapbook" paper (I really wanted to include that because that is what she works with).  I actually have an addiction with scrapbook paper.  I always want to buy it but I NEVER scrapbook.  (Same thing with fabric).  So this actually fed my addiction for a while because I don't have time to work on my scrapbook line, but I got to create all these different "papers" for Jodie and Red Jam Designs.  So thank you Jodie for helping out a recovering shopaholic :)

It's 6 am here...I don't do mornings and I'm rambling, but I wanted to get this up before I had to start work.  

PS...anyone know how to get a baby to sleep in after 5?  I get a lot of work done this way, but oh my I'm tired!

Monday, May 24, 2010

Should Be Cleaning...

But I'm looking at logos.  Here are some of my favorites:
I don't know what exactly it is that I like about this...I don't even like hearts, but this is fun and so clean and cute.  I love it.


Can I say...super creative?  I really admire people that can think of things like this.  This type of design is not my forte exactly, but I'm always really drawn to these logos.
Get it?  It's called BREAK, and it's made of chairs... :)  This just makes me smile.

Baby's awake...gotta go, but hope you enjoyed this little collection!

Monday, May 17, 2010

Moving on Up...

My blog was rated one of the Top 42 Digital Art Blogs by The Guide to Art School!  I'm number 27 actually.  There are some awesome blogs on this site, so I was really honored!  I worked really hard on my blog and I work hard on each design I create, so I'm so excited to get recognized for my work.  Here's what they said about Edub:  
Blog Edub presents the work of up-and-coming Etsy designer, Erin. Her enthusiasm is infectious and her love of graphic design shines through. We're sure you'll agree that her memorable designs are delicate, feminine, and fabulous.  Our favorite post: Flowers, Bows and Hair-ties, OH MY!


I've still got openings for blog design, so please shop around:


Saturday, May 8, 2010

I want that:

Adobe Creative Suite 5 - CS5 is here. Learn more.
Of course, I have to give it a try first, but I'm sure I'll love it.  I'll let you guys know how I like it!!  The thing I'm most excited for...interactivity without code.  I have a hard time with codes.  I never remember them and I'm a cut and paste type girl...so this will save my life and hopefully I'll begin designing flash websites like I've been promising everyone :)

Almost reached my sales goal this month.  I have to be able to pay for my car payment and the upgrade for this...wish me luck!

PS  The title is from what movie???

Monday, April 26, 2010

Flowers, Bows and Hair-ties, OH MY!

I have been chomping at the bit to blog about this logo I did.  Don't mean to toot my own horn or anything, but I love love love this logo!  It just clicked for me...I'm not sure why because I'm not usually into majorly girlie things...but it helped that Michelle from Sugarbug Boutique wanted blues and yellows for her colors.  Michelle drew up an image for me to go off of and I came up with this:

It was Michelle's idea, I just executed it :)  I think it's EXTREMELY important for a client to have an idea for a concept.  Of course, I love coming up with concepts...but it's easier to please a client that knows what they want.  To prove that point...besides changing the font around, Michelle approved the silhouette figure after the first time she saw it.  I was so happy because I really loved the way it turned out.

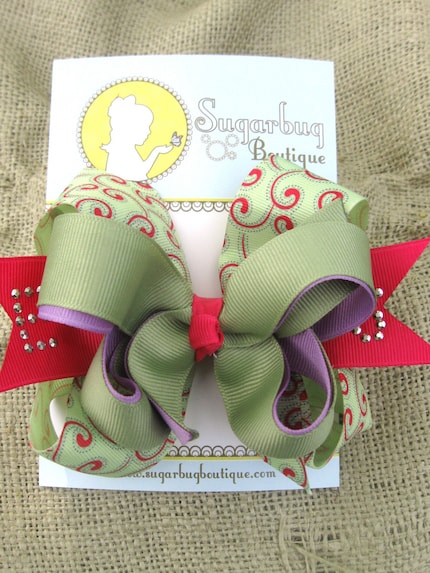
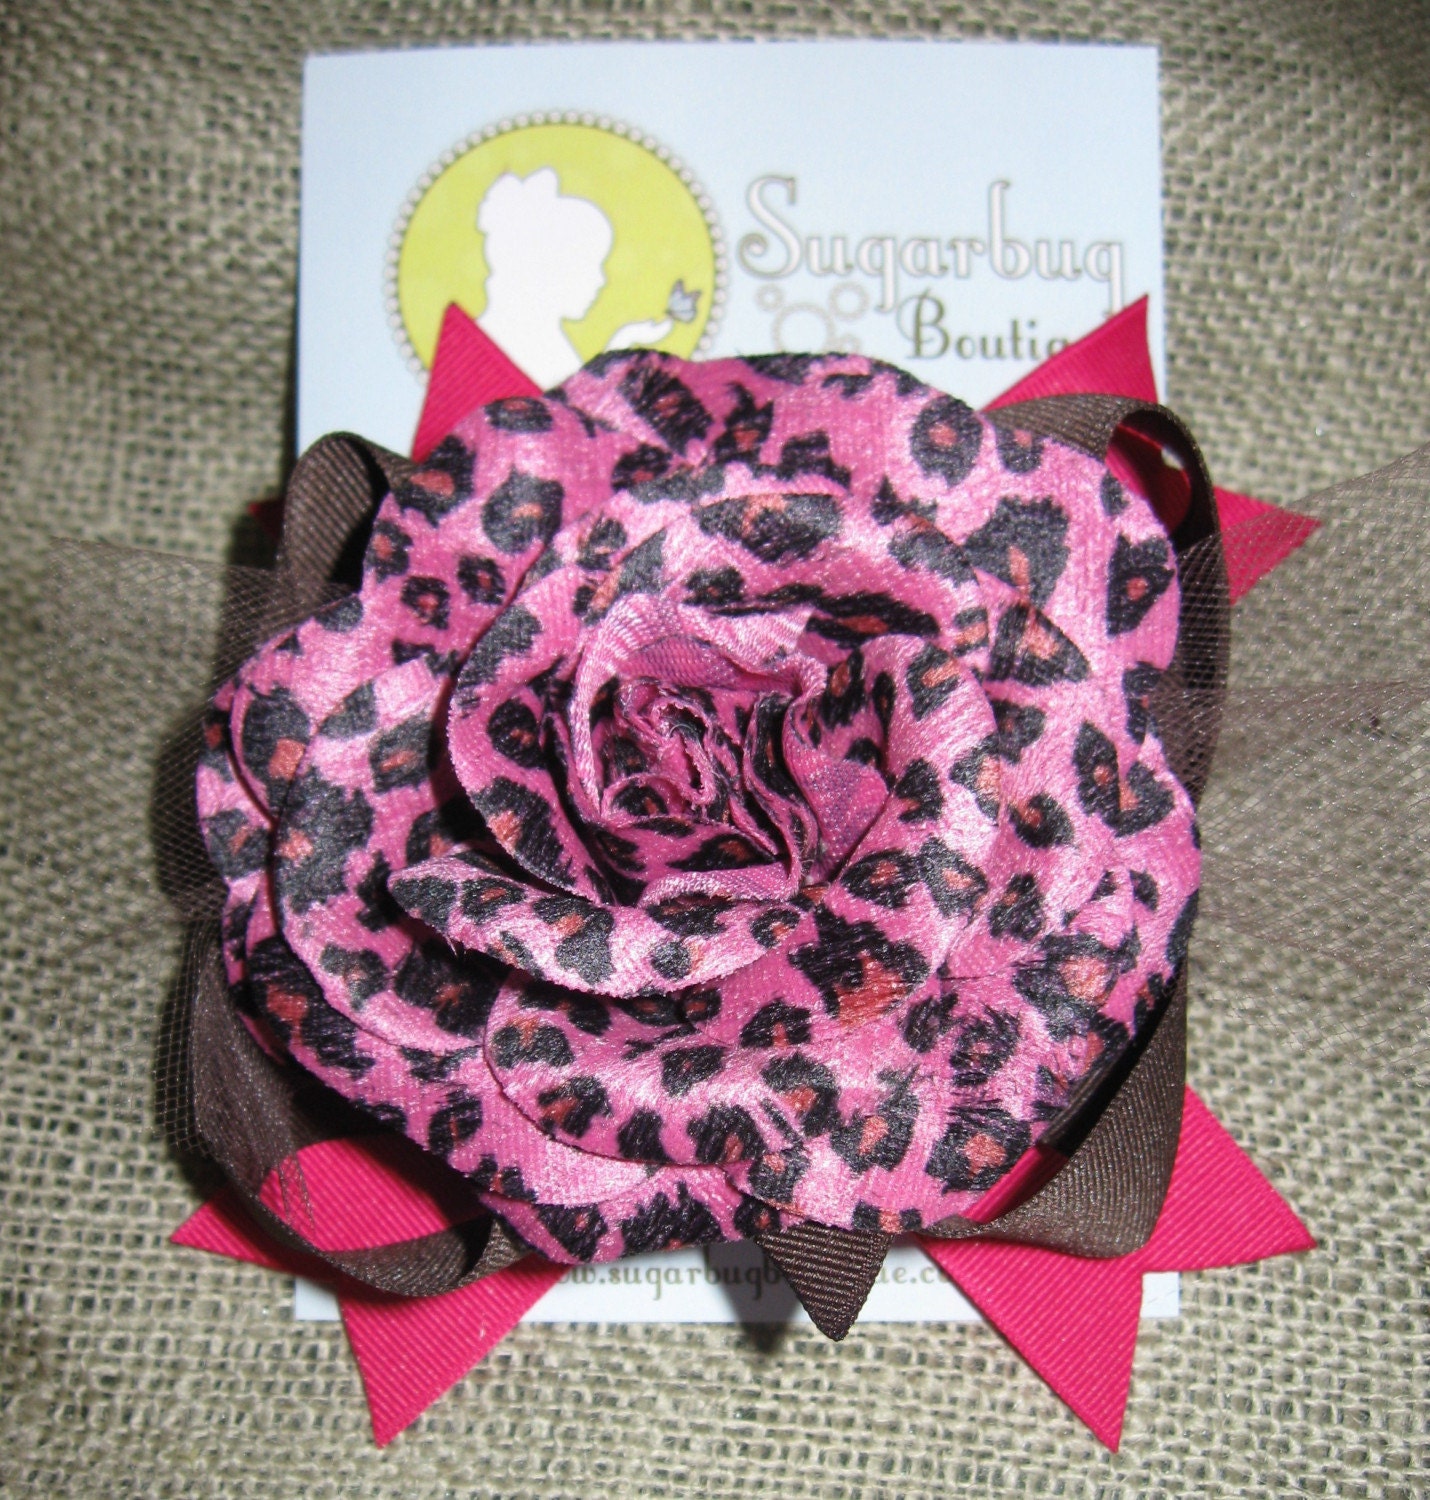
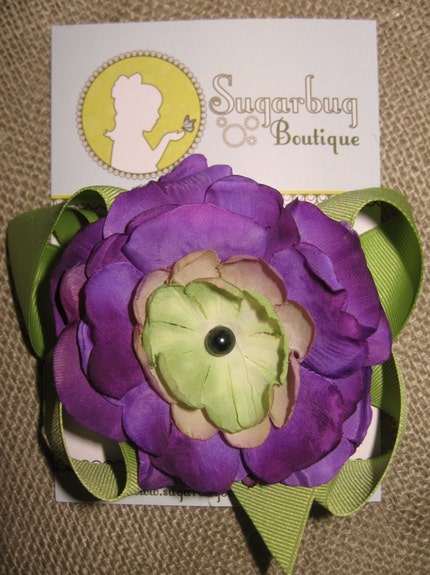
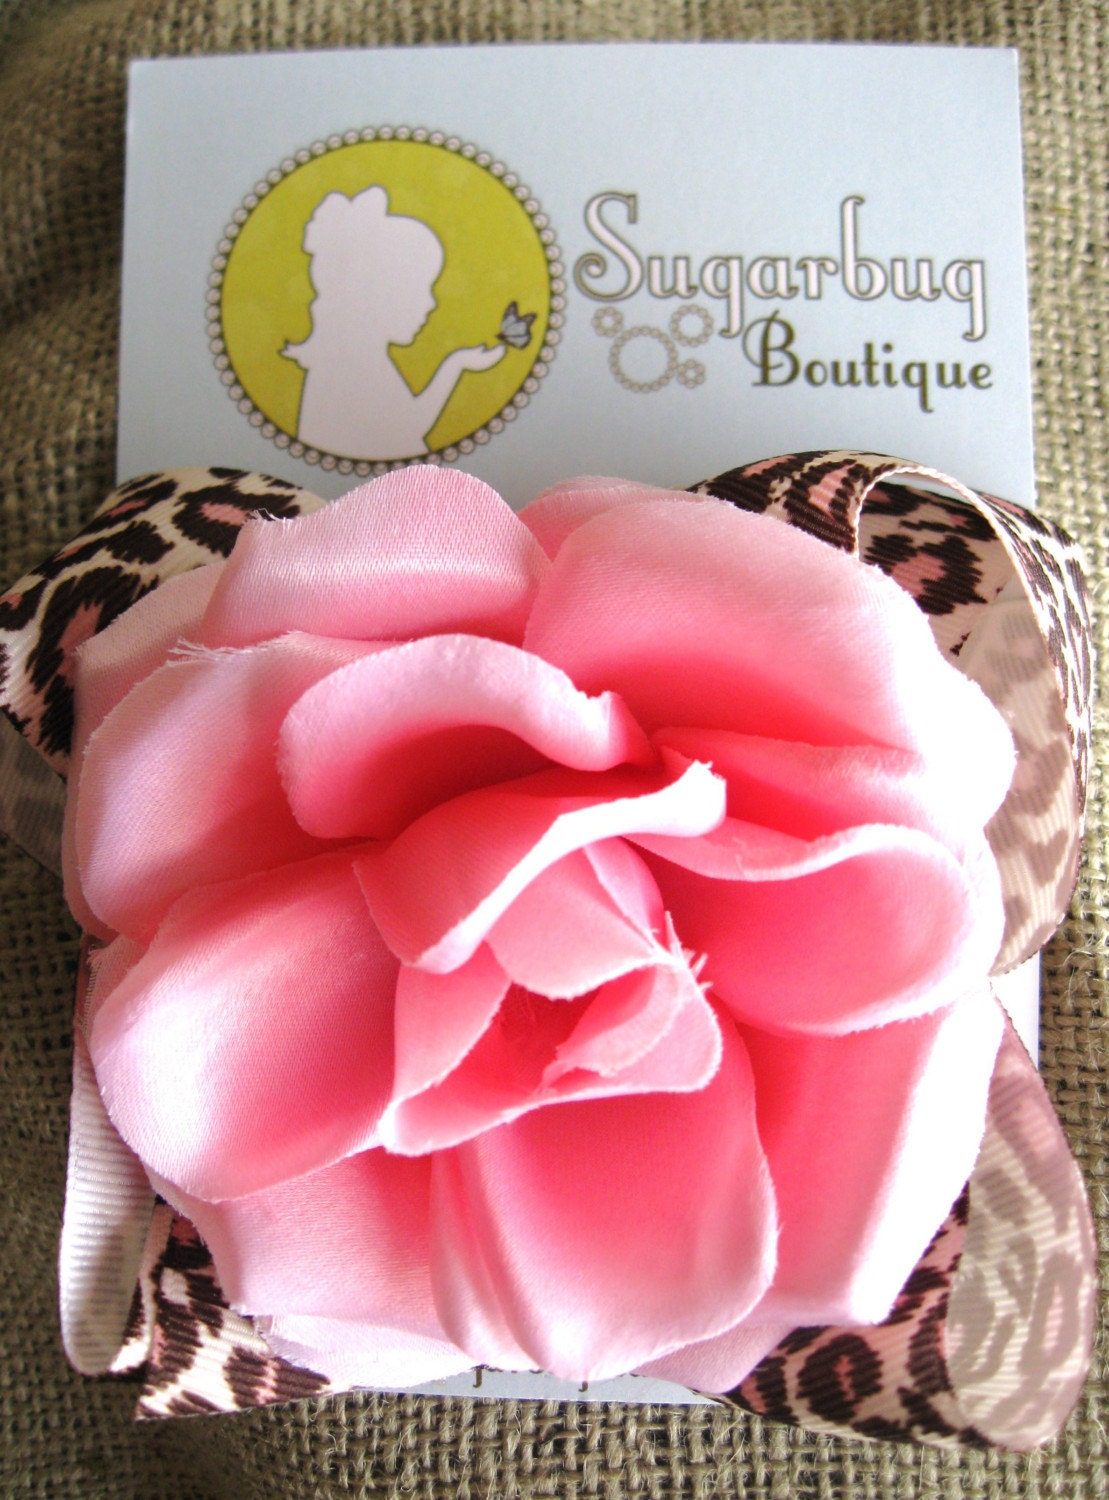
I then designed Sugarbug's blog, etsy store, business cards and bow cards...in a month.  I think it was a record for me.  Michelle needed all her designs ready for her show (read about it on her blog--it turned out amazing!)  Here are some of the designs she sells:
Pink and Green Custom Initial BowChocolate Brown and Pink Leopard Bow with FlowerLavender and Green Hair Bow with FlowerPink Flower Rose  and Leopard Hair Bow

SOOO CUTE!  My favorite is the lavender flower...and though I hate to admit it, that huge PINK rose is absolutely adorable :)  Can't wait to see more!

Thursday, April 22, 2010

Shoe Spoonflower Contest

Spoonflower has contests almost every week.  I try to enter the ones that appeal to me...and what's more appealing than shoes?  

Girls Love Shoes

This is my design...please vote for me (or of course the other designs that you like!)  This page will show last weeks fabric winner (a FABULOUS tessellation design) and on the right it will tell you to VOTE IN THIS WEEK'S CONTEST.  Click the link at the bottom.  There are tons of designs, but I'm pretty partial to mine. It's titled "Girls Love Shoes"...so true.

Wednesday, April 21, 2010

Art Brush Tutorial

So, I searched EVERYWHERE when I was first starting out on how to make clean lines, and I didn't find any brushes in the brushes panel that I liked...I finally figured it out myself (like almost everything else).  So, to keep my readers from going through that painstaking process, I'm going to bless you all (lol) with a series of tutorials on how to create your own brushes.

My three favorite brushes to use are art brushes, pattern brushes, and scatter brushes:

In this tutorial, I will show you how to make an art brush and I am using Illustrator CS3.

STEP ONE:  I will be using the ellipse tool to create this brush, so select the Ellipse tool in the tools panel and create an oval shape.  Don't make the shape too large.

STEP TWO:  After you have created the shape you want, select the shape and go to the Brushes Panel (usually on the right side) and create a New Brush (it looks like a little notepad).

STEP THREE:  You'll have many options to choose from.  You can choose the direction the brush goes, the size, flip and colorization.  I'm going to keep all the generic options because those work best for the stroke I created.  Click OK.

STEP FOUR:  Apply the brush to the stroke by selecting the stroke, then selecting your new brush in the brush panel (you might have to scroll down to find it if you have another brush selected already).  Your image should end up looking like this:

Of course, don't limit yourself to oval or square shapes.  You can create an art brush from any type of image.

Please let me know if you have any questions and feel free to add on to this or let me know what other tutorials you would like.  Next week, I'll show you how to work Scatter Brushes.


Related Posts with Thumbnails